Adding Linter and Formatter to TypeScript Project

You may want to read this article in Bahasa Indonesia version: Menambahkan Linter dan Formatter pada Projek TypeScript
Introduction
Clean and consistent code is key to developing maintainable applications. When working in teams, differences in coding styles can cause confusion and slow down the development process. ESLint helps identify potential problems in code, while Prettier automatically formats code to agreed standards.
With TypeScript, the benefits of these tools become even greater. The combination of TypeScript, ESLint, and Prettier creates a development environment that not only prevents data type-related bugs, but also ensures the code remains clean and consistent throughout the project. In this article, we will learn how to integrate and configure ESLint and Prettier in your TypeScript project.
Before continuing, make sure to check the previous part here Creating a TypeScript Project from Scratch Using Vite
Step 1: Installing ESLint
ESLint is a tool that helps identify and fix problems in JavaScript/TypeScript code. Let’s install ESLint and the necessary plugins:
pnpm add -D eslint @eslint/js @eslint/eslintrc @eslint/compat
pnpm add -D @typescript-eslint/eslint-plugin @typescript-eslint/parser
pnpm add -D eslint-plugin-import eslint-import-resolver-typescript
Step 2: Installing Prettier
Prettier is a code formatter that will ensure a consistent code writing style:
pnpm add -D prettier eslint-config-prettier eslint-plugin-prettierESLint and Prettier can sometimes conflict. We have used eslint-config-prettier to solve this. This configuration will disable ESLint rules that may conflict with Prettier.
Step 3: Configuring ESLint
Create an eslint.config.mjs file in the project root with the following configuration:
import path from "node:path";
import { fileURLToPath } from "node:url";

import { fixupConfigRules } from "@eslint/compat";
import { FlatCompat } from "@eslint/eslintrc";
import js from "@eslint/js";
import { defineConfig } from "eslint/config";

const __filename = fileURLToPath(import.meta.url);
const __dirname = path.dirname(__filename);
const compat = new FlatCompat({
  baseDirectory: __dirname,
  recommendedConfig: js.configs.recommended,
  allConfig: js.configs.all,
});

export default defineConfig([
  globalIgnores(["./dist"]),
  {
    extends: fixupConfigRules(
      compat.extends(
        "eslint:recommended",
        "plugin:import/recommended",
        "plugin:@typescript-eslint/recommended",
        "eslint-config-prettier"
      )
    ),

    settings: {
      "import/resolver": {
        typescript: {},
      },
    },

    rules: {
      "no-unused-vars": [
        "error",
        {
          vars: "all",
          args: "after-used",
          ignoreRestSiblings: true,
          argsIgnorePattern: "^_",
        },
      ],

      "import/order": [
        "error",
        {
          groups: [
            "builtin",
            "external",
            "internal",
            "unknown",
            "parent",
            "sibling",
            "index",
            "object",
            "type",
          ],

          "newlines-between": "always",

          pathGroups: [
            {
              pattern: "@/**",
              group: "internal",
              position: "after",
            },
          ],
        },
      ],
    },
  },
]);
⚠️ This article uses ESLint with v9.0.0, so the new default configuration format is
eslint.config.js. The previous formateslintrcis now deprecated and will not be searched automatically. Read more at https://eslint.org/docs/latest/use/migrate-to-9.0.0#flat-config.
Step 4: Configuring Prettier
Create a .prettierrc file at the root of the project:
{
  "semi": true,
  "singleQuote": false,
  "tabWidth": 2,
  "printWidth": 100,
  "trailingComma": "es5",
  "arrowParens": "always"
}
Step 5: Adding Script in package.json
Add scripts to run the linter and formatter in package.json:
{
  "scripts": {
    "dev": "vite",
    "build": "tsc && vite build",
    "preview": "vite preview",
    "lint": "eslint . --ext .ts",
    "format": "prettier --write \"**/*.{css,js,json,jsx,ts,tsx}\""
  }
}
Step 6: Configuring VS Code for Auto-Format
To enable auto-format when saving files in VS Code, make sure the file** **.vscode/settings.json contains the following configuration:
{
  "editor.codeActionsOnSave": {
    "source.fixAll": "always",
    "source.organizeImports": "always"
  },
  "[typescript]": {
    "editor.formatOnSave": false
  },
  "editor.defaultFormatter": "esbenp.prettier-vscode",
  "editor.formatOnSave": true
}
This configuration will:
- Run all code repair actions when saving
- Set Prettier as the default formatter
- Enable automatic formatting when saving files
Step 7: Testing the Configuration
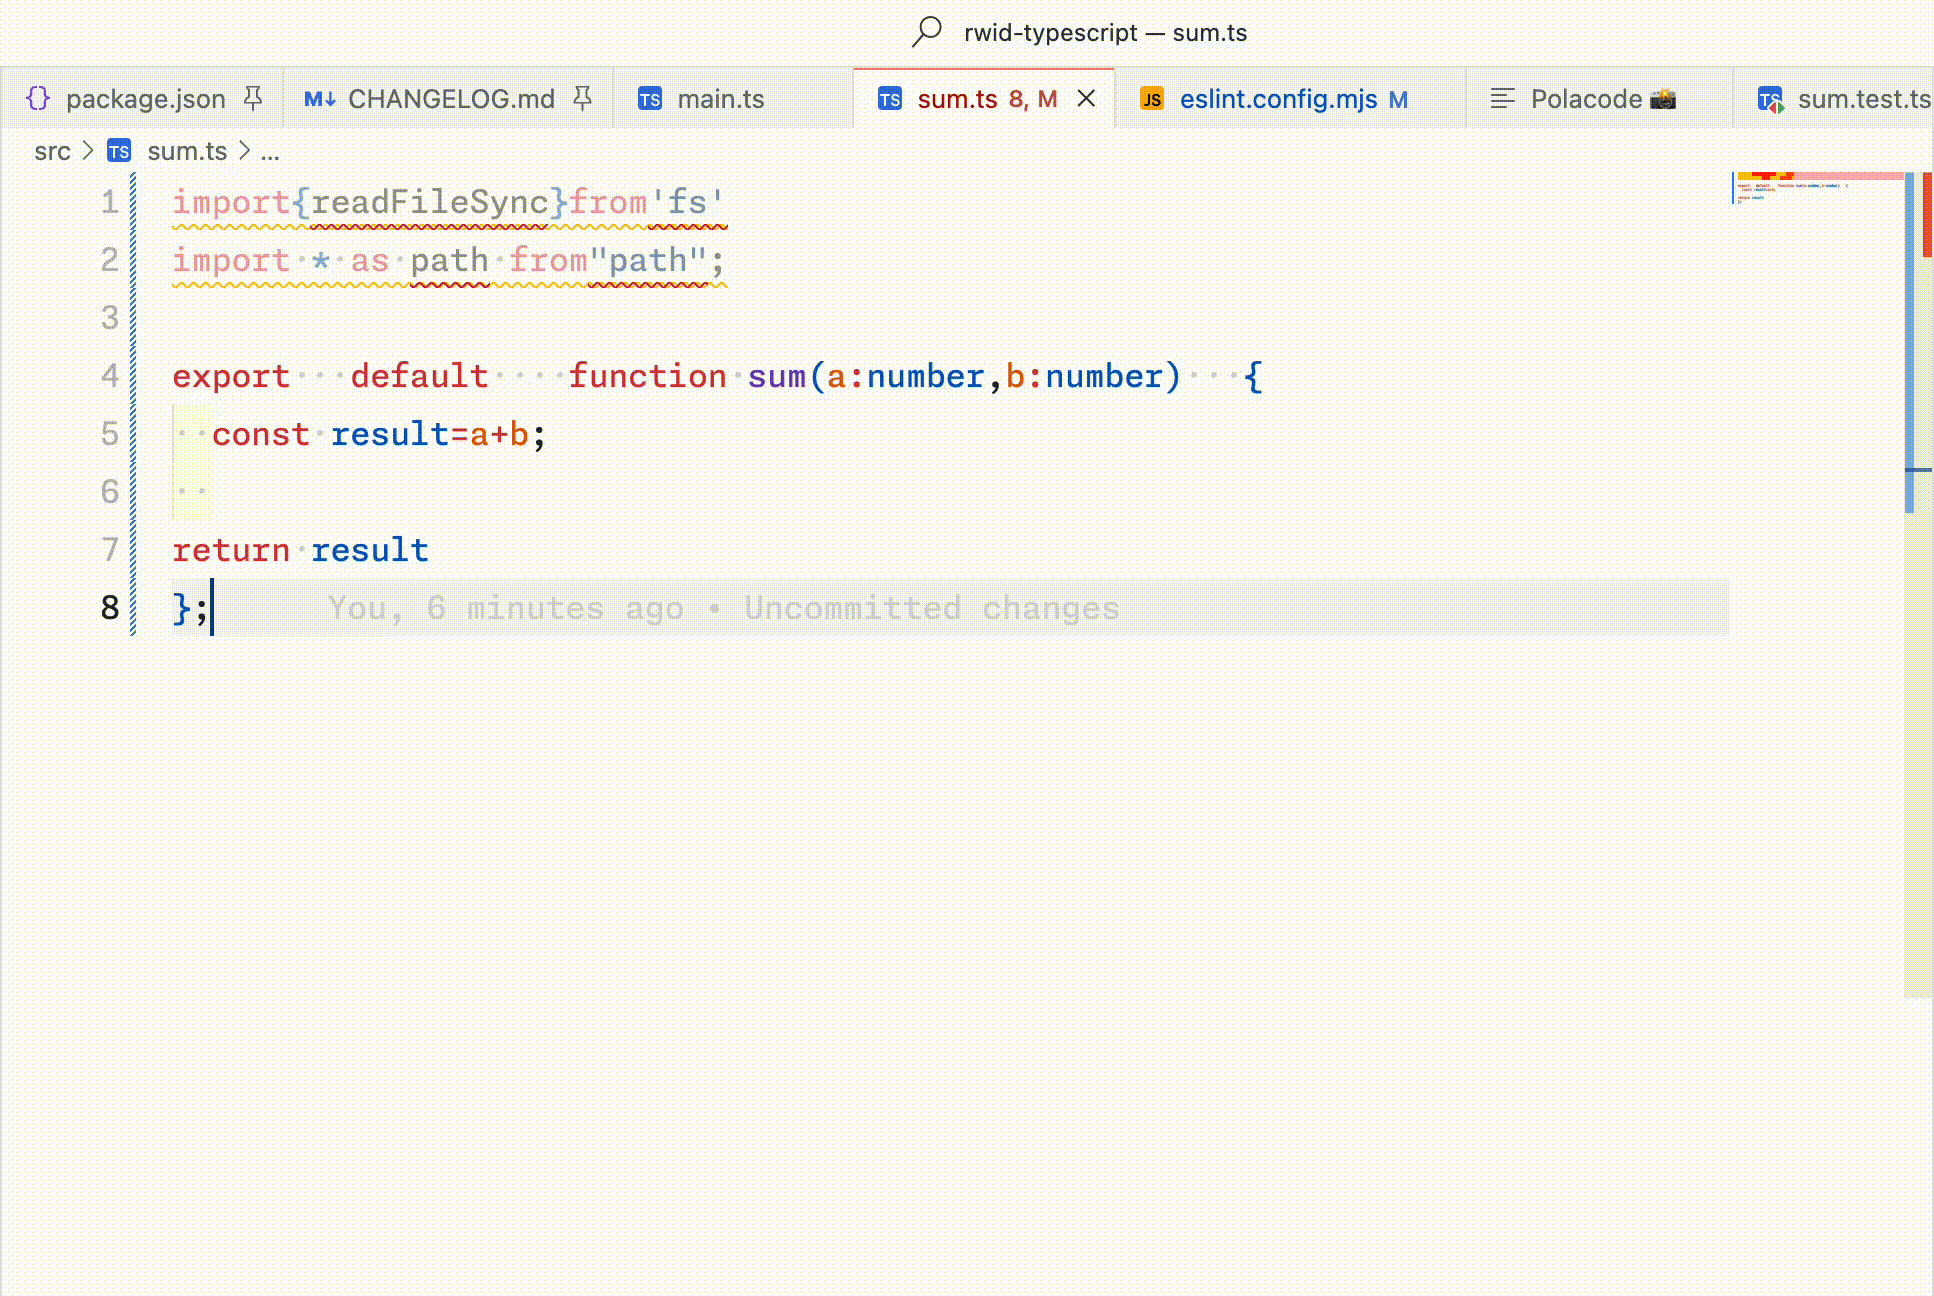
Now it’s time to test our configuration. Here is an example of TypeScript code that is still messy and needs to be tidied up.
import{readFileSync}from'fs'
import * as path from"path";

export   default    function sum(a:number,b:number)   {
  const result=a+b;

return result
};
When running the linting commands with pnpm run lint and pnpm run format, we will see the following error.
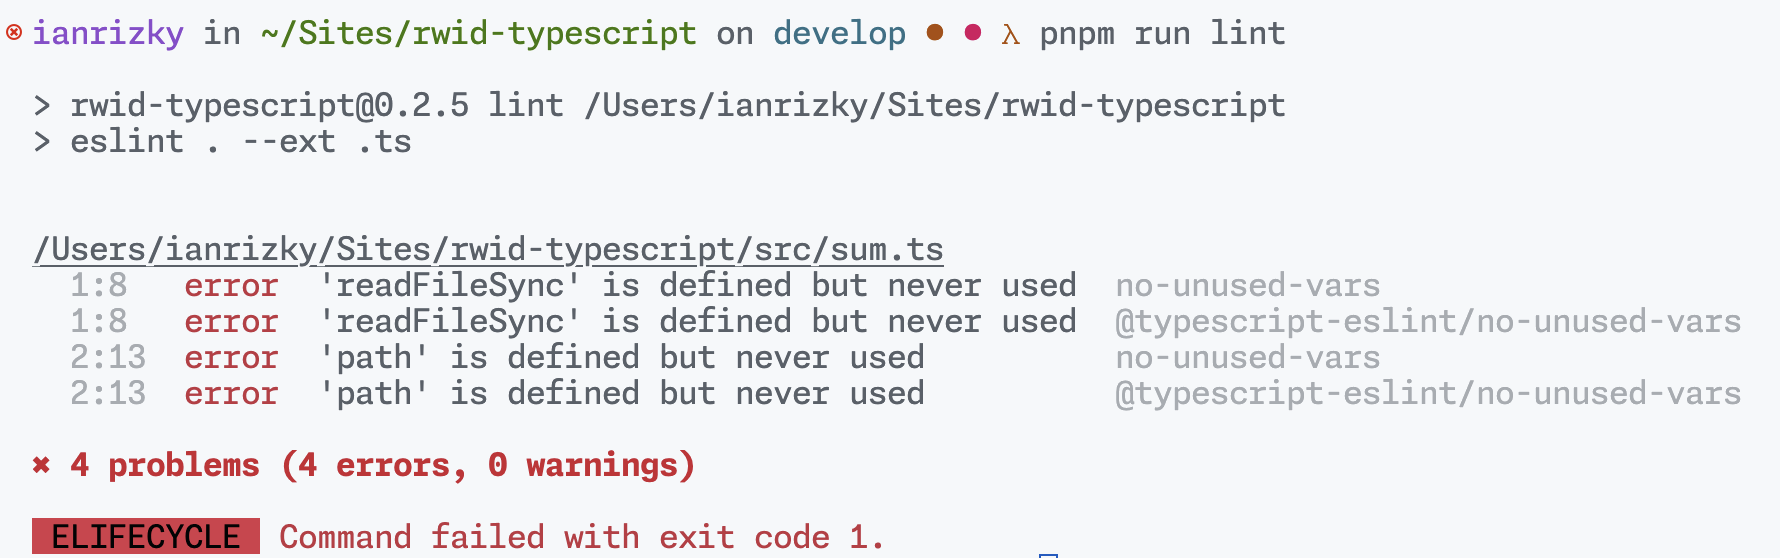
We can fix it manually by following the advice given or directly utilize the auto save feature that we configured in Step 6.
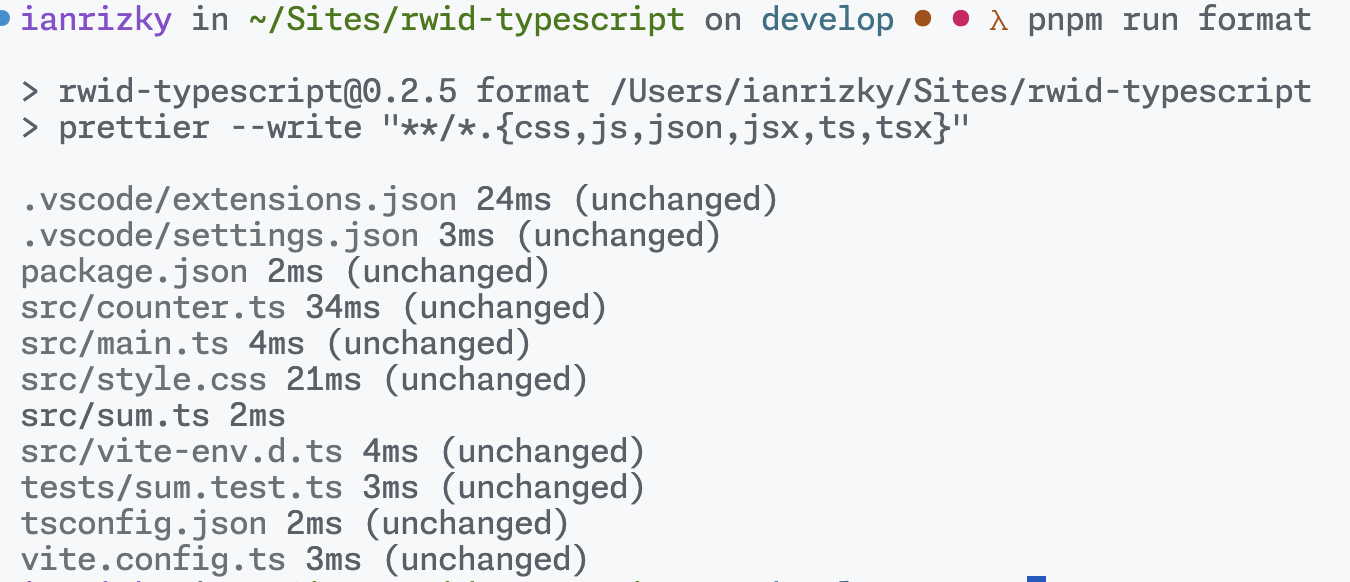
Next, we can run the formatter with the pnpm run format command with the following results.
Conclusion
Congratulations! You have successfully configured ESLint and Prettier on your TypeScript project. This configuration will help you maintain code consistency and avoid common errors. With VS Code integration, this process becomes automatic when you save the file.
In the next article, we will learn how to add unit testing using Vitest and integrate it with codecov.io to track code coverage. You can check the link to that article here: Creating Unit Tests Using Vitest and Integrating with GitHub Actions.