Node.js Ultimate Guide for Beginner — Part 3
Before continuing, make sure to check the previous part here Node.js Ultimate Guide for Beginner — Part 2
You may want to read this article in Bahasa Indonesia version: Node.js Ultimate Guide untuk Pemula — Part 3
In this article, we’ll walk through how to create a Node.js project using npm init, push it to GitHub, and deploy it to Render. This tutorial is broken down into three parts: setting up the environment, deploying the app, and configuring it to be publicly accessible via a valid URL.
Preparing Your Node.js App for Deployment
In the first part, we’ll focus on getting the Node.js app environment ready for deployment. Here are the steps:
-
Installing Node.js and Express
We’ll use the Express framework to build a simple Node.js app. Express is one of the most popular frameworks for backend development.
npm init -y npm install express -
Creating an API Endpoint
Here’s a basic example of an endpoint that responds to a GET request and returns a list of users:
const express = require('express'); const app = express(); const PORT = process.env.PORT || 3000; const users = []; app.get('/users', (req, res) => { res.json({ users }); }); app.listen(PORT, () => { console.log(`Server running on port ${PORT}`); }); -
Testing Locally
Once the server is running, you can access the app at
localhost:3000/users. -
Setting up
package.jsonDon’t forget to configure the start script in
package.jsonso you can run the app in the terminal usingnpm start.{ "scripts": { "start": "node index.js" } }
Starting Deployment on Render
Render is a platform that makes it easy to deploy apps. In this part, we’ll walk through configuring the app for Render.
-
Creating a Render Account
If you don’t have an account yet, you can sign up at render.com. Once you’re set up, make sure to link your GitHub account for easier deployment.
Make sure to set up a payment method in your Render account to keep the app running long-term. This is required to keep your app continuously accessible.
-
Adding Your App Repository
Once your account is connected, you can add your Node.js app repository from GitHub.
Managing your project on a platform like GitHub is essential. Here are a few key things to remember when uploading your project to GitHub:
- README.md: This file is the “face” of your project. Be sure to explain what your project is about, list the required dependencies (like the Node.js version), how to install it, and how to run it locally.
- LICENSE: Adding a license to your project is crucial. It protects your rights as a developer and also informs others about how they can use or modify your project.
- CI/CD: Continuous Integration/Continuous Deployment (CI/CD) helps you automatically run tests and even deploy your project. GitHub provides GitHub Actions, which you can use to set up CI/CD workflows that run tests every time a new commit is made.
-
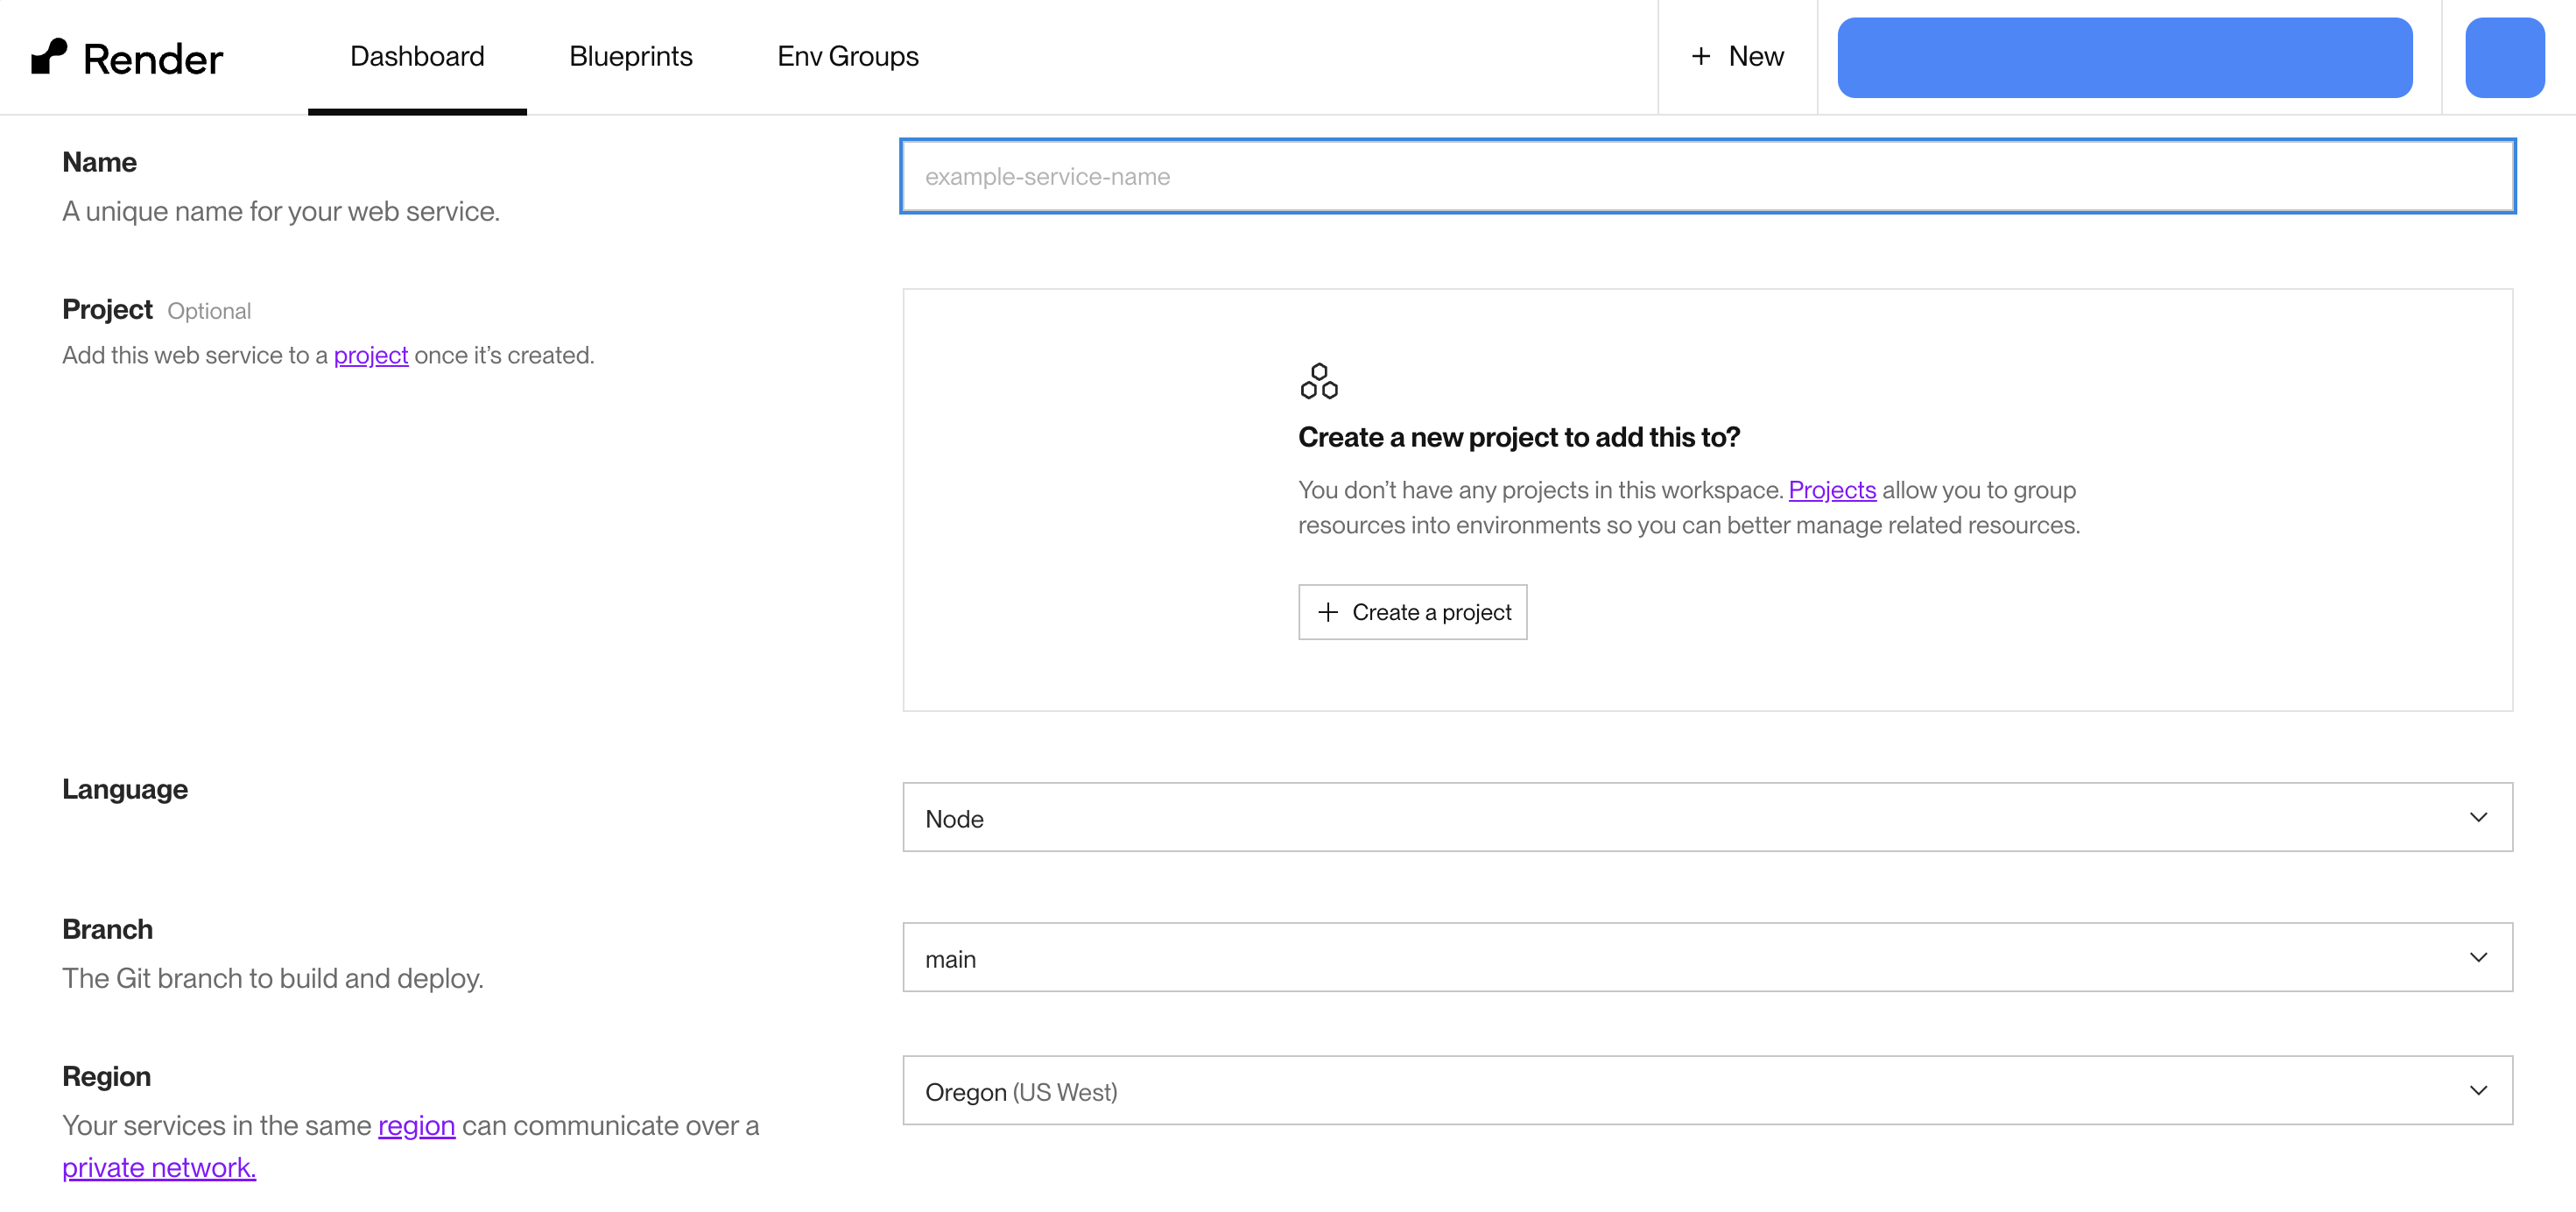
Deployment Configuration
In the Render dashboard, select Node.js as your app’s environment.
-
Waiting for the Build Process
Once everything is configured, Render will automatically build and distribute your app.
Configuring HTTPS and Port Settings on Render
In this final section, we’ll ensure your app can be accessed using HTTPS by tweaking the port configuration.
-
Port 443 for HTTPS
When your app is deployed with HTTPS, it usually runs on port 443. This is the standard for secure connections, unlike HTTP, which uses port 80. We’ll need to change the previous port (3000) to 443.
const express = require('express'); const app = express(); -const PORT = process.env.PORT || 3000; +const PORT = process.env.PORT || 443; // ... -
Testing the App
Once the deployment is successful, you can test your app by visiting the domain provided by Render, such as
https://your-app.onrender.com.
Conclusion
Deploying a Node.js app to cloud platforms like Render or Heroku is pretty straightforward if you follow the steps outlined above. The key is making sure your app is properly configured and connected to your GitHub repository. Also, pay attention to the ports you use, especially when setting up HTTPS.
Once you’ve mastered these basics, you can explore deploying to other platforms or learning more about CI/CD for automated deployments. Make sure to test regularly and secure your app, especially if you’re using HTTPS and offering publicly accessible APIs.