Node.js Ultimate Guide for Beginner — Part 4
Before continuing, make sure to check the previous part here Node.js Ultimate Guide for Beginner — Part 3
You may want to read this article in Bahasa Indonesia version: Node.js Ultimate Guide untuk Pemula — Part 4
Previously, we explored creating a simple REST API using the Express library and deploying it to Render. Now, we’ll do something similar, but this time using a different library: ElysiaJS.
ElysiaJS and Next.js
ElysiaJS is a JavaScript library that, by default, runs on the Bun runtime. Unlike Node.js, which uses Google Chrome’s V8 engine, Bun uses JavaScriptCore as its main engine. As a library designed for running JavaScript on the server, ElysiaJS offers an interesting alternative to other libraries like Express, Hapi, Fastify, and so on. Even though it runs on Bun, ElysiaJS can also work on Node.js and other JavaScript runtimes since it supports the WinterCG standard, which ensures compatibility with various JavaScript tools.
Meanwhile, Next.js is a full-stack JavaScript framework for building web applications. This means Next.js can be used for backend, frontend, or both. One cool thing about Next.js is that it has its own platform for super easy deployment—Vercel.
Integrating Next.js with ElysiaJS
In this article, we’re going to deploy a simple REST API using ElysiaJS. To simplify the deployment process, we’ll integrate it with Next.js.
-
First step: create a Next.js project. In this example, we’ll set it up using TypeScript and the App Router to handle routes. The setup is pretty simple:
npx create-next-app@latest --typescriptMake sure to choose TypeScript and App Router for this project:
What is your project named? my-app Would you like to use TypeScript? No / Yes Would you like to use ESLint? No / Yes Would you like to use Tailwind CSS? No / Yes Would you like to use `src/` directory? No / Yes Would you like to use App Router? (recommended) No / Yes Would you like to customize the default import alias (@/*)? No / Yes What import alias would you like configured? @/* -
Next step: integrate ElysiaJS. First, we install ElysiaJS via npm.
npm install elysiaThen, create a new file at
src/app/api/[[...slugs]]/route.tswith the following code:import { Elysia, t } from 'elysia'; const app = new Elysia({ prefix: '/api' }); export const GET = app.handle; export const POST = app.handle;Pay attention to the
prefixproperty used when creating thenew Elysia(). Since we’re building this within a Next.js app, we can’t create API endpoints directly from the base URL. Instead, they need to be placed under a specific sub-URL. In this case, the/apiprefix matches the folder structure insrc/app/api/[[...slugs]]/. -
We’ll create a simple endpoint like we did in the previous article—handling a GET request that returns a list of users. Here’s the example:
import { Elysia, t } from 'elysia'

const users = [];

-const app = new Elysia({ prefix: '/api' });
+const app = new Elysia({ prefix: '/api' })
+    .get('/', () => { users })

export const GET = app.handle;
export const POST = app.handle;
Deploying ElysiaJS to Vercel
Once the app is built and integrated with ElysiaJS, the next step is to deploy it to Vercel. The process is really simple:
-
Make sure your project is connected to GitHub.
-
Create an account on Vercel and link it to your GitHub repository.
-
Deploy the project directly from Vercel by selecting the connected GitHub repo.
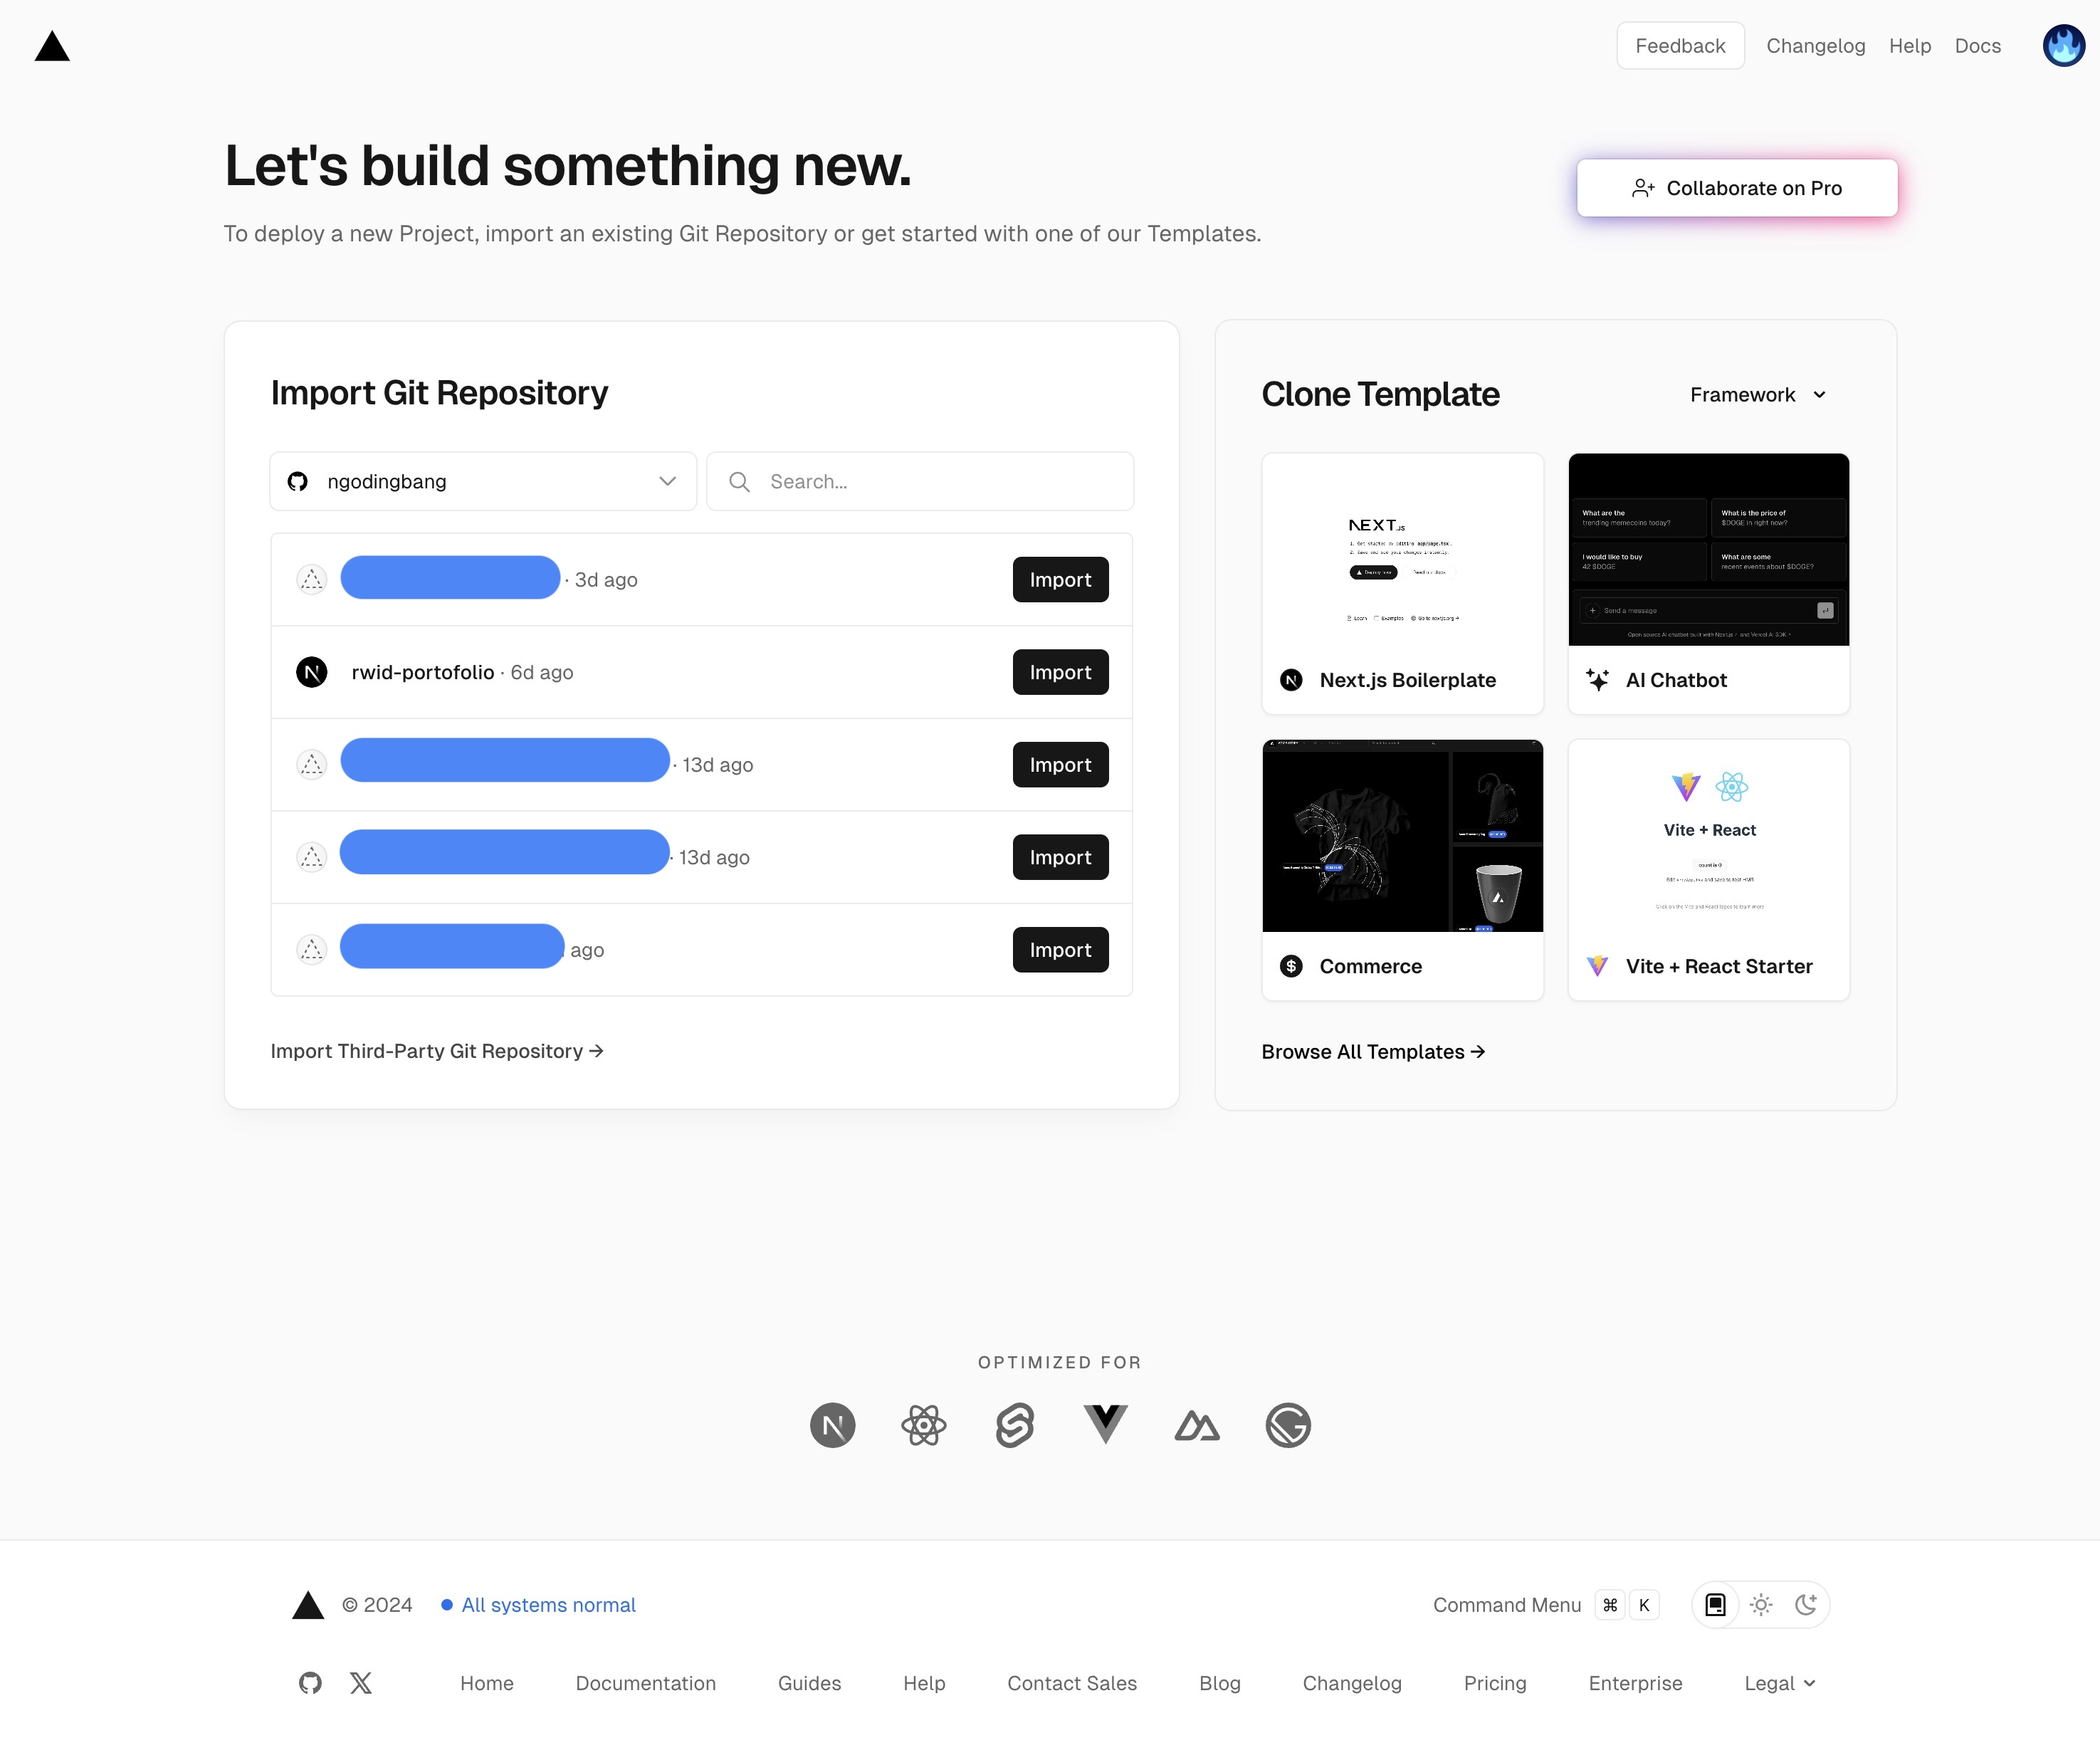
Select the project you want to deploy from the Import Git Repository menu. 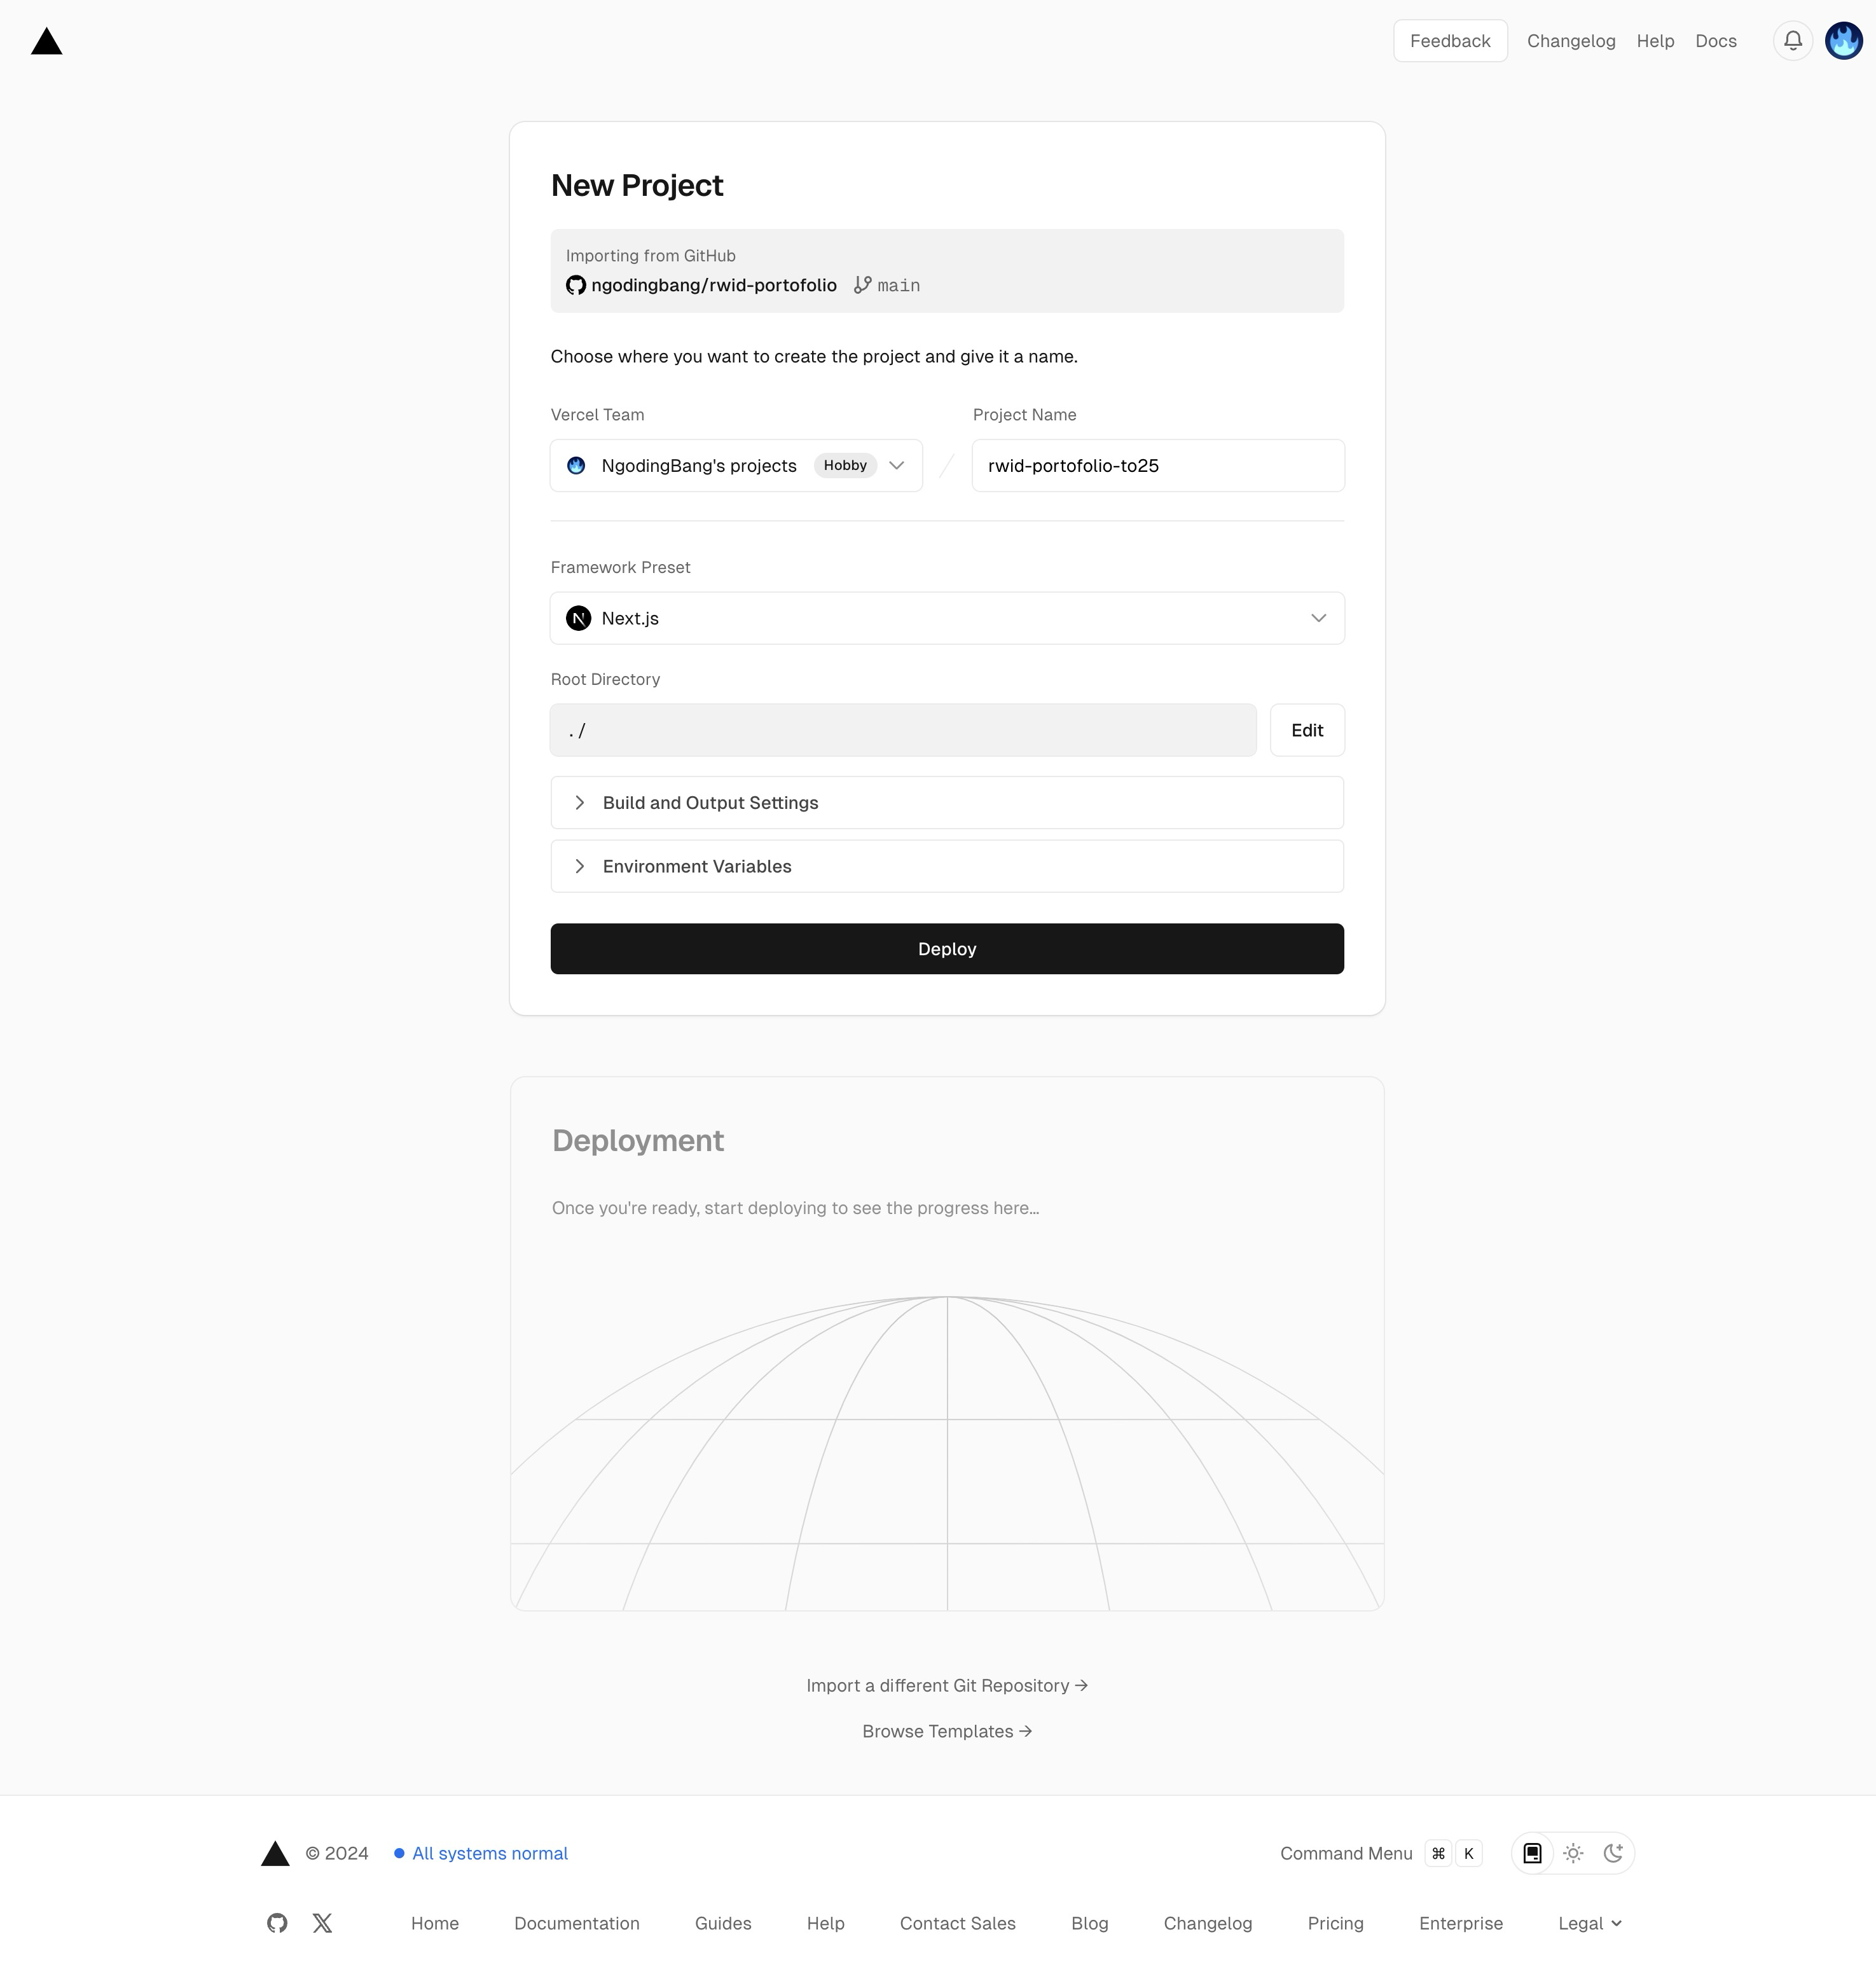
After this, click Deploy.
Once deployment is finished, you can share the app link and API endpoint with your team or community for testing.
Conclusion
Integrating ElysiaJS with Next.js allows you to build efficient APIs in a super easy way. This setup also provides a fast and flexible method to develop both backend and frontend applications using just one programming language which is JavaScript.
